By Chapter Member Jardayna Werlin Laurent
Do you find yourself stripping down in the parking lot of Nahant Beach from time to time? Wishing you had something to protect you from the January wind as you stand on the side of the Lynnway? Then you, my friend, need a surf changing towel! Not just for beach days, this wearable cabana is meant to give you protection from the elements and curious onlookers while you peel off a wetsuit or bathing suit right in public, in broad daylight, any month of the year.
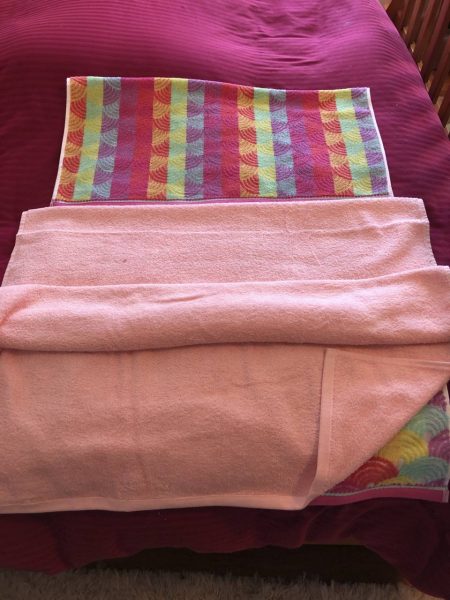
To start this project, you need a sewing machine and 2 towels. Other equipment: a sharp fabric scissors, pins, maybe a ruler, and ideally some chalk although a marker would work. In the pictures to follow, I used 2 regular sized bath towels. This results in a changing towel sized for a small adult or a large child. If you are a large adult, you will want to use 2 “bath sheets” or beach towels.
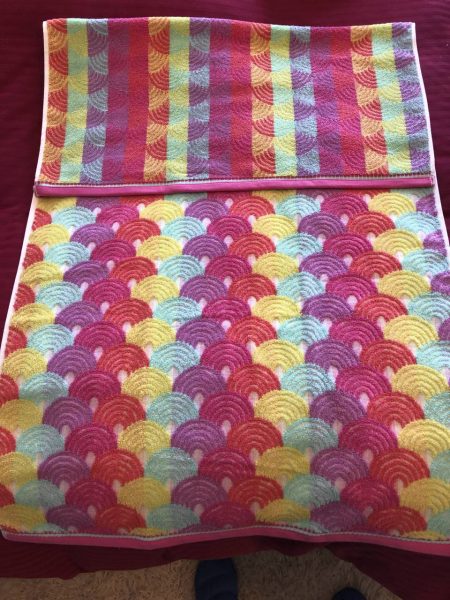
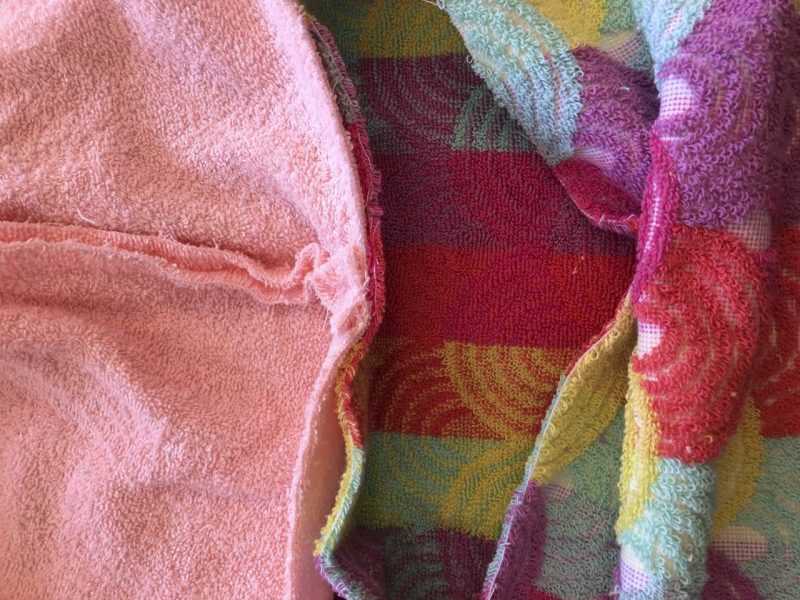
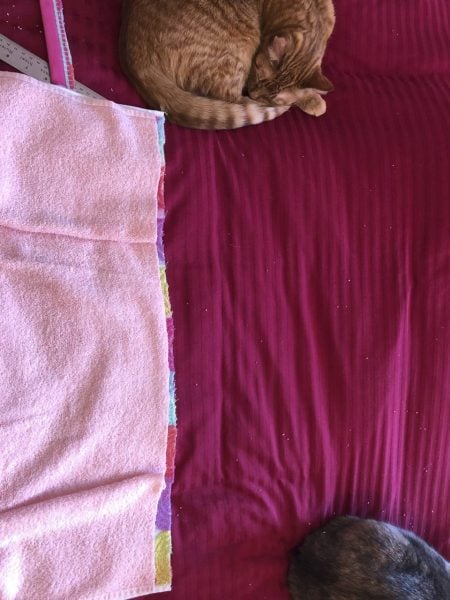
Step 1 - Decide which towel is going to be the front. In these pictures, it’s the patterned rainbow towel. Fold about 1/3 of it over.
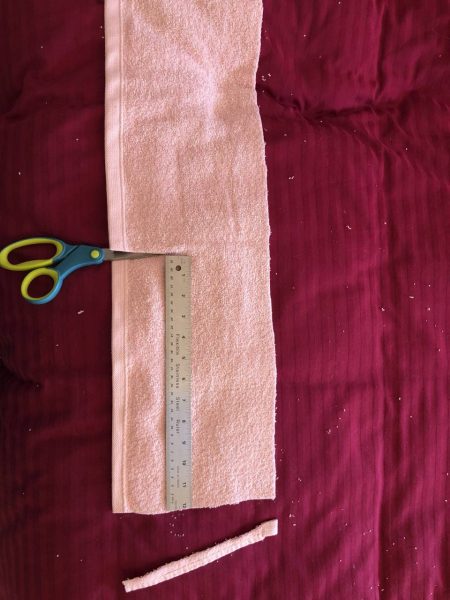
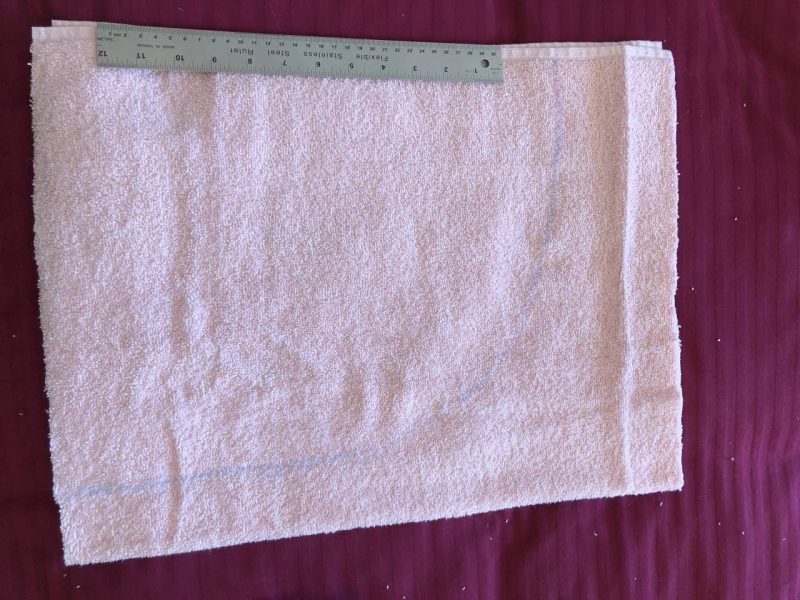
Step 2 - Measure the second towel against the remaining 2/3 of your first towel- this will be the back (pink), so you want the finished bottom edges of both towels to end up the same length.
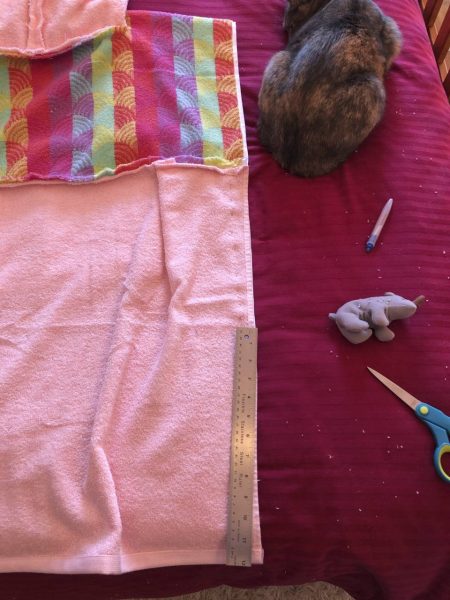
Step 3 - Cut the back towel about one inch longer than needed (seam allowance) and set this piece aside for a while.
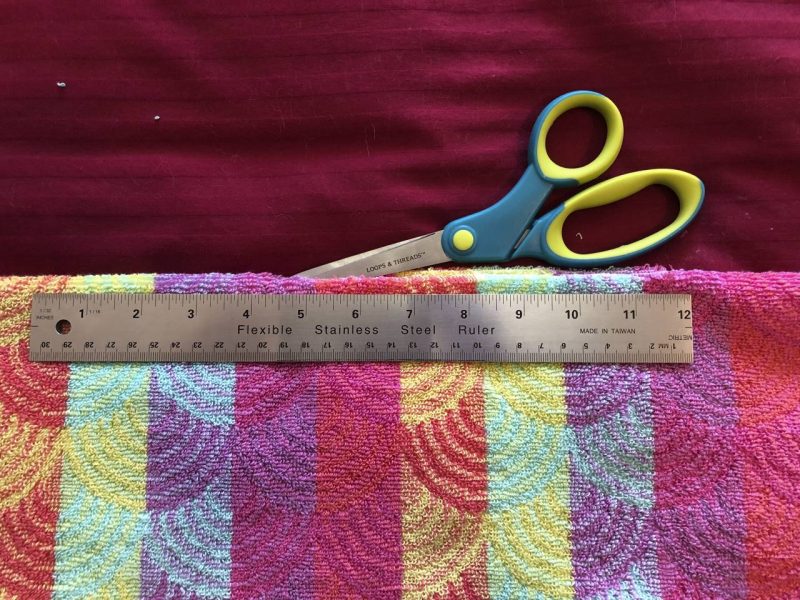
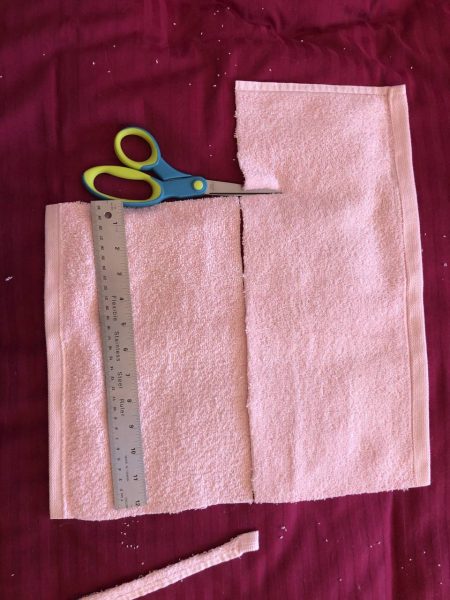
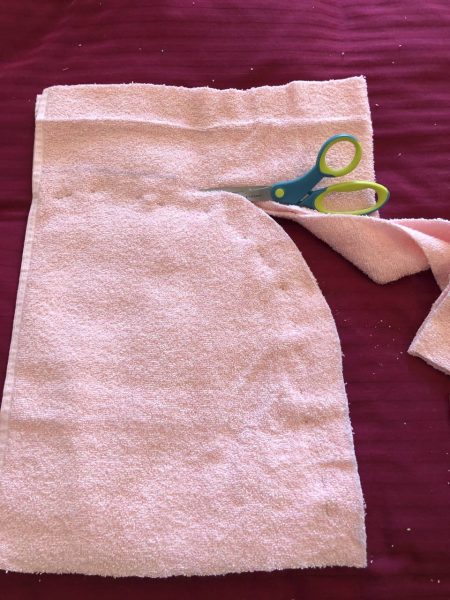
Step 4 - Returning to your front towel, cut about a 12” neck hole along the fold you previously made. If you’re thick-necked from years of paddling, go with 14”
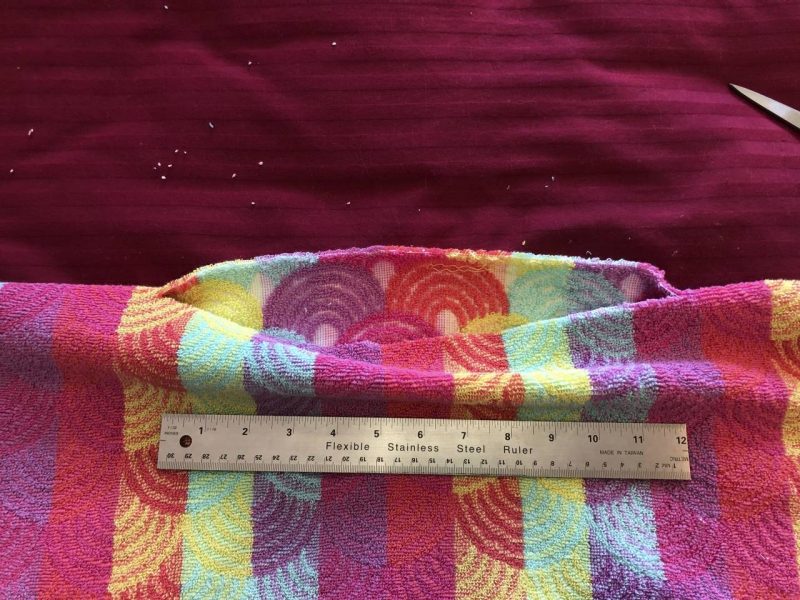
Step 5 - Close-up of neck hole. The towel is folded with the good sides together at this point.
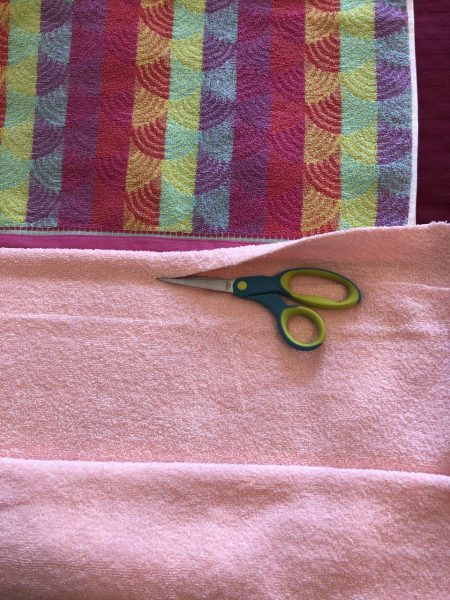
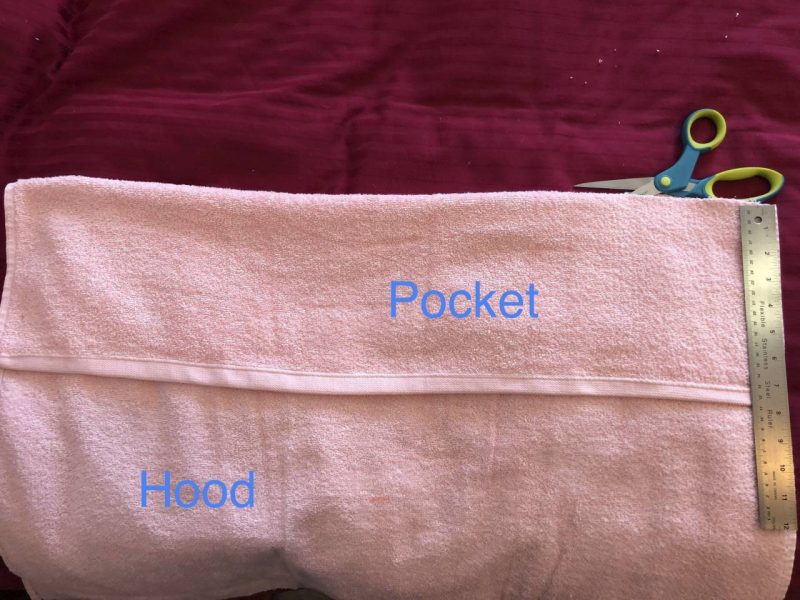
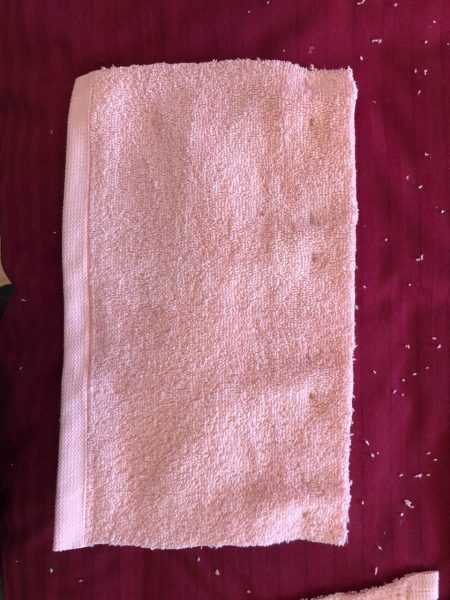
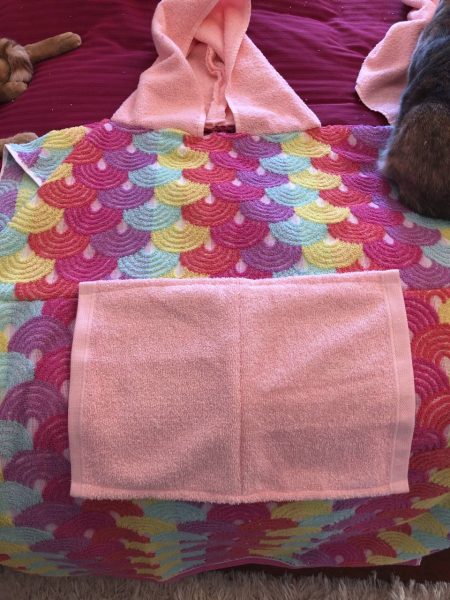
Step 6 - Next, return to the smaller piece you cut off the back towel (not the piece I said to set aside for a while). You’re going to cut part off to become the pocket. The larger part will become the hood. Measure and cut off an 8” strip including the thick finished bottom edge to become the pocket.
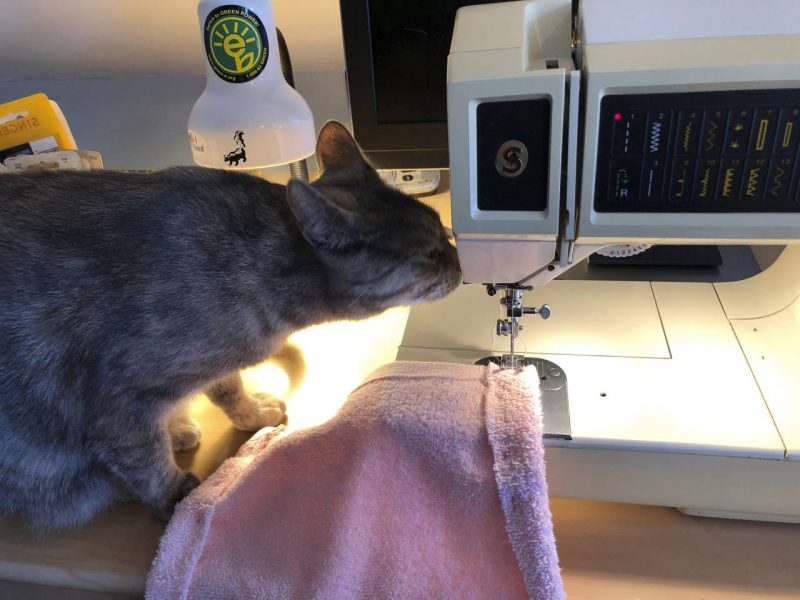
Step 7 - Make sure someone qualified checks your work.

Step 8 - To turn this strip into a pocket, cut it into 2 separate 12” pieces.
Step 9 - Line them up.
Step 10 - Pin the cut edges together and sew along the edge.
Step 11 - Unfold and pin the other raw edges under.
Step 12 - Now, sew along each seam
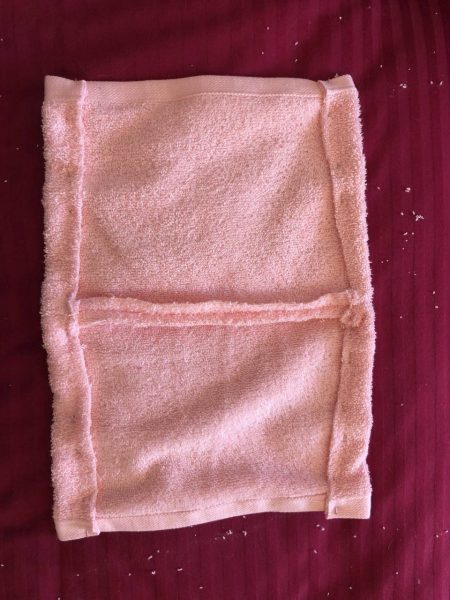
Step 13 - Again, make sure to check your work. Your pocket should now be hemmed on all sides.
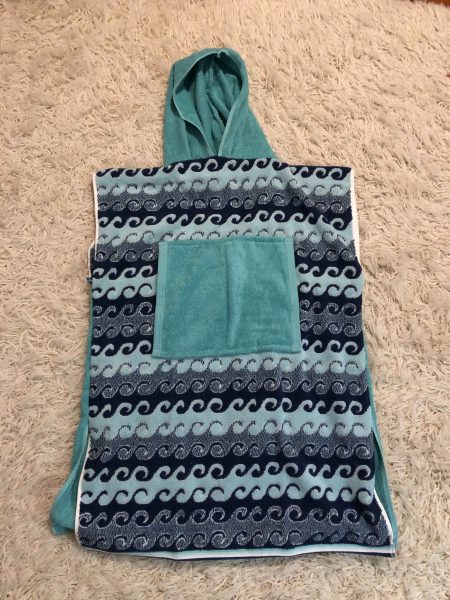
Step 14 - Next, we’ll make the hood. This picture is of the hood from a different towel I made so you can see the shape we’re going for.

Step 15 - Take the remaining piece cut from the back towel (still not the one I said to set aside for a while), fold it in half with good sides together and the finished edge in the front which will frame your face. You want about a 14” length, with a curved edge. Don’t worry- the exact measurements are not too important here- it’s worked out each time I’ve done it by eyeball.
Step 16 - Pin and cut out your hood pieces. Sew along the curved edge and turn the hood right side out. Try it on- you can correct at this point if you don’t like the shape or size.
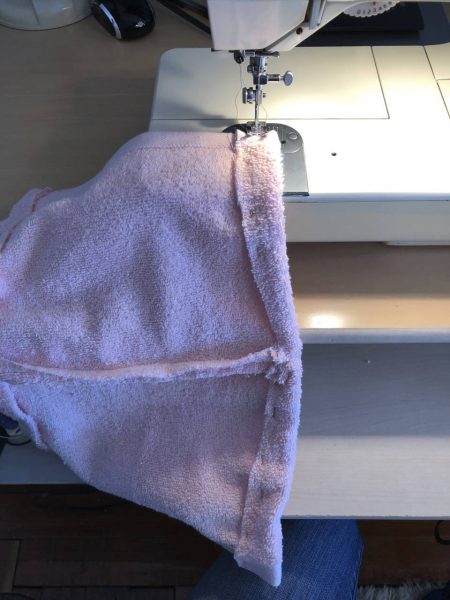
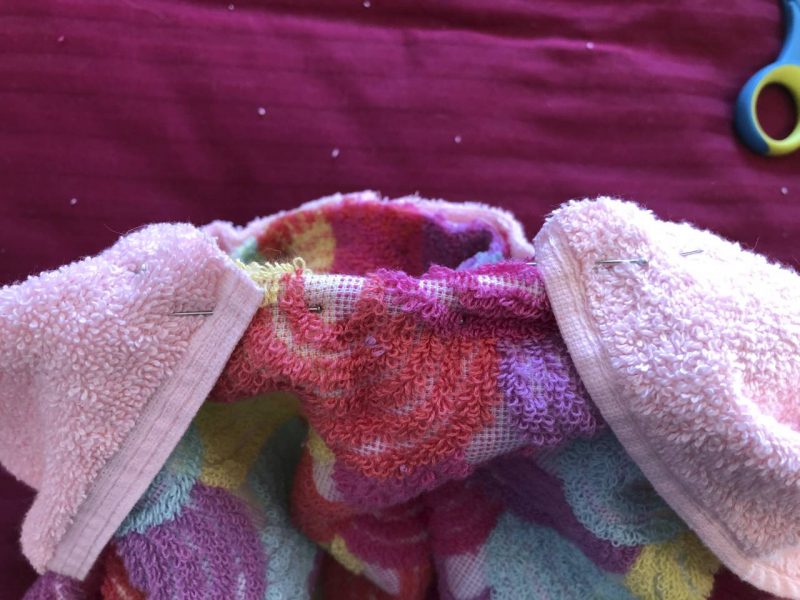
Step 17 - This next step is the hardest part. Turn your front towel and your hood so good sides are facing together. (The main body of the changing towel is right side out now.) Starting at the back midpoint of the hood, pin the hood to the neck slit you previously cut in the towel. Work around one side, then the other.
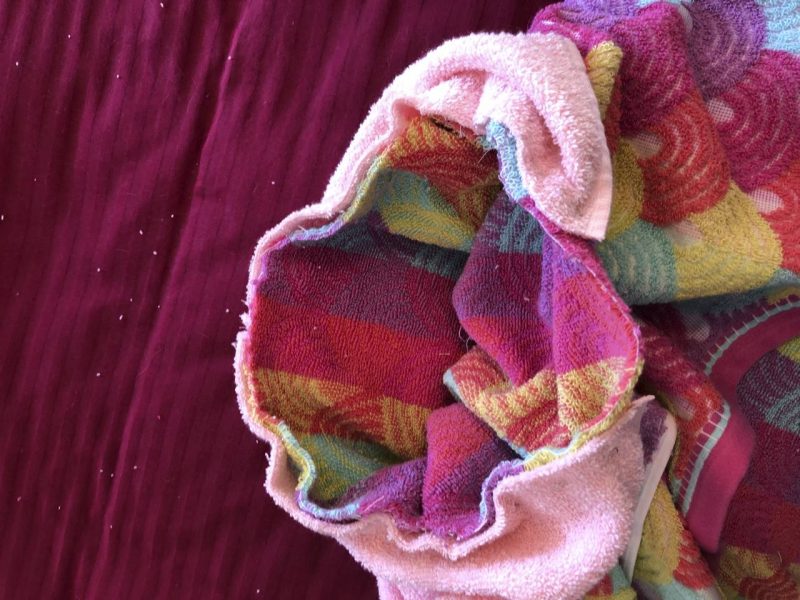
Step 18 - Use a lot of pins since you’re trying to get something flat to become round. Here’s the finished item pinned together. Depending on the exact size of your hood and the length of the neck slit, the hood may meet in the front or you may have a small gap. Either is fine. In this towel, I have a 3” gap.
Step 19 - If you have a gap, you may want to pin the cut edge over and sew a seam so it doesn’t unravel.
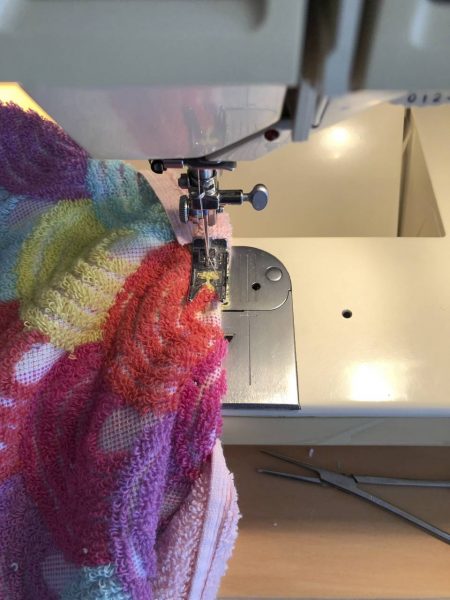
Step 20 - Next, sew along the pinned edge attaching the hood to the towel. Go very slowly- this is thick fabric! I usually sew all the way around, then do another lap around with a zig-zag stitch because there is a lot of strain on the hood if you leave it hanging by the hood when wet, as I do.
Step 21 - Next, pin the pocket to the front of the changing towel. Try it on and see where your hands fall if you’re not sure where to put it. Sew along the top and bottom edge.
Step 22 - Finally, attach the back piece to the back. My towels were slightly different widths so you can see there are two small pleats to make the edges meet. Fancy!
Step 23 - Last, you are going to sew the sides partly together thereby creating arm slits. Turn the towel inside out to do this, and pin to mark where you will sew. I measured 12” up from the bottom hem and sewed about 10” together, up to the point where the two towels meet, leaving the rest open for arm holes.
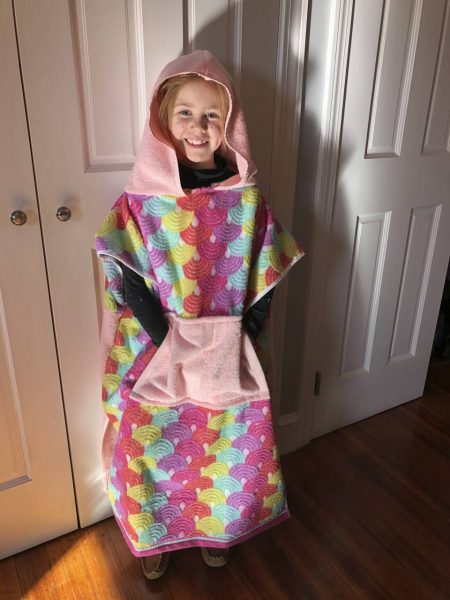
Step 24 - Ta da! Make sure to send us pictures of any towel projects you make, and drop a line if you’re stuck!